
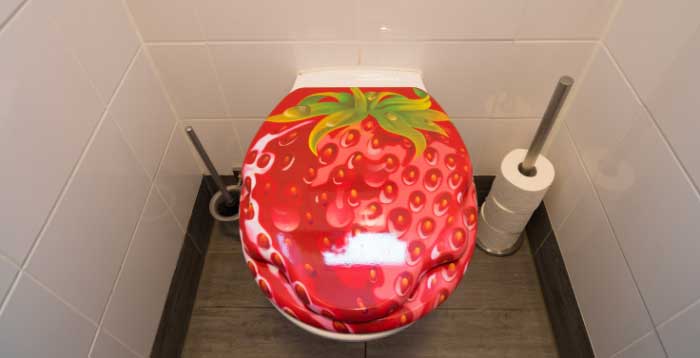
Time gets the best of us and almost everything around us. Yes, this includes toilets. They arrive in deluxe radiance, which fades by the day and by the end of a few years, your toilet will be looking awfully boring. Besides time, frequent use and cleaning with harsh disinfectants can wear the toilet’s glamor making it look ancient.
If you are doing home renovations, your toilet must get refurbished to match your amazing new look all around the house. But maybe you are wondering, how do you refurbish a toilet seat? Is it easy to do a toilet seat makeover? The answer is yes, it is very much possible. And we will of course, give you the steps on how to do it.
But before we go so far, let’s find out what kind of paint you are going to need.
What Type Of Paint Is Needed For Toilet Seats?
Conventionally, you would need to use a primer before applying paint to ensure the best level of bonding. This may not be necessary because some paints are already mixed with a primer and therefore reducing the amount of time needed to finish the job.
Things you need
- Spray paint (either for wood or plastic toilet)
- Disinfectant cleaner
- Rags
- Sandpaper (120 grit)
- Dropcloth (you can substitute this with a newspaper)
- Scrub brush
- Spray primer (for wood or plastic toilet)
- Utility knife (optional)
- Painter’s tape
- Sponge
Steps for painting a toilet seat
Detach the seat from the toilet
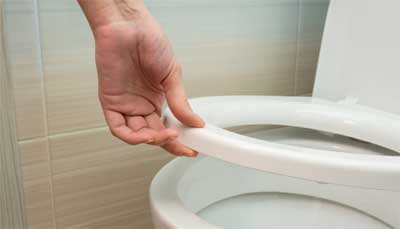
You cannot paint a toilet seat while it is still attached to the bowl. The paint can easily spread to other unwanted parts. To detach a seat, unscrew the bolts holding it to the bowl. A screwdriver will come in handy. Check out videos on how to replace a toilet seat in case you need a better visual guide.
Clean the seat

You need to sanitize your toilet seat using disinfectant water. Make sure all the areas, including the hinges are covered as well. Use a scrub brush for hard-to-reach areas and a sponge on other parts. Now rinse and wipe off any water with a dry rag.
Cover the areas that are not to be painted
With the painter’s tape, cover all the areas that should not get in contact with the paint. This includes the hinges and their covers. Wrap the lid in newspapers if you don’t want it painted. Use a utility knife to trim off any excess tape.
Sand areas to be painted
Using fine-grit sandpaper, sand the top and bottom of the seat and other areas that are to be painted. Do this until they are dull. Sanding creates a rough surface that makes the paint stick better. Once you are done, wipe all the dust off with a damp rag or sponge.
Paint the seat
Before you start painting, make sure there is a drop cloth on the floor, so you don’t end up with a toilet seat print on your floor or driveway. Now, it’s time to do the painting. For those starting with a primer, first, shake it to mix the contents evenly.
Apply a light touch of primer on all the exposed parts in a sweeping motion. Do this from all the best possible angles to ensure all the essential parts are covered. Try to keep your head as far as possible for safety.
Give the primer some time to dry on both sides. Once dry, shake the spray paint bottle for the contents to mix. Now apply the paint on all the surfaces just as you did with the primer. Keep the bottle 6-10 inches away to avoid paint drips and uneven coating. Also, try to read and follow the instructions on the spray paint bottle for the best results.
Dry and install the seat
Let the paint dry off completely. This could take an hour, several, or a day tops. Peel off the tapes and newspapers and install the seatback to its throne using the original nuts bolts.
There you have it. All the steps for painting a toilet seat. Not as hard as you thought, right? The only thing you need to spend money on is the paint and probably screws only. The rest can easily be found in your home.
Note: wood, acrylic, and plastic toilet seats are the best candidates for painting. In case you are thinking of replacing your toilet seat, read our Wooden vs. plastic toilet seat article to find out which one could be convenient for your home.
Warning: Do not paint foam-padded toilet seats. It is imperative to wear a mask to protect yourself from spray paint smell and its particles. If not, then ensure the windows are open or simply paint from outside.
Getting the paint off other surfaces
Some of us are reckless and other times, accidents genuinely happen. So how can you remove paint from surfaces where none was needed? It’s easy. Using your finger, rub olive oil to the paint spot and give it a few minutes to mix. The start is working it off using a clean rag or anything a little rough. Repeat the process until there is no paint left.
Wrap Up
Painting a toilet seat is a DIY activity. There is no rocket science involved and anyone-kids, women, or men-can comfortably do it. All you have to do is follow our instructions, and you’ll finally get your toilet seat looking vibrant once more. The best part is; you might spend less than $10, considering your home probably has many of the required tools.
If you are out for the best toilets, be sure to look around our websites. We have reviewed so many mind-blowing choices worth investing in.
Related Resources: